Golf Shop
THE GOLF SHOP AT HIDDEN RIVER GOLF & CASTING CLUB
The Golf Shop at Hidden River is not your typical golf shop. We offer an excellent variety of golf apparel, along with seasonal casual wear perfect for the Midwest climate. You’ll always find the best brands here, including a few “hard to find” exclusive labels that you won’t see anywhere else. Our friendly staff and exceptional customer service make shopping at The Golf Shop a great experience every time.
Shop a Wide Range of Golf Gear
Our Pro Shop is stocked with top-quality gear from the brands you trust. We offer a wide selection of:
Clothing & Apparel
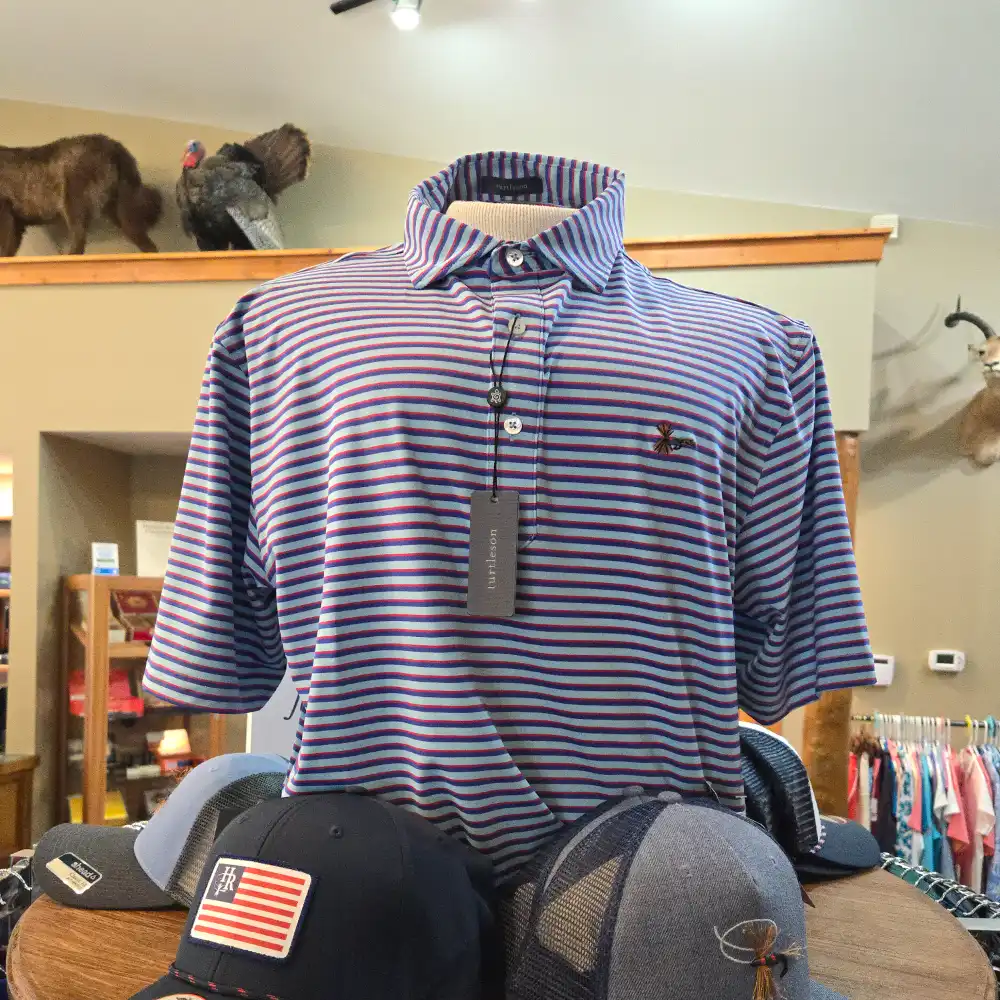
Stay comfortable and stylish on the course with our premium golf apparel. Find the perfect outfit for any weather condition or golfing occasion. Stocked with top brands like Straight Down, Johnny O, Turtleson, B Draddy, Fairway & Greene, Golftini, Swannies Golf, Levelwear, Anderson Ord, Bobby Jones, Imperial, Sunice, Scales, IBKUL, Footjoy, Zero Restriction, Sun Mountain, Vineyard Vines.
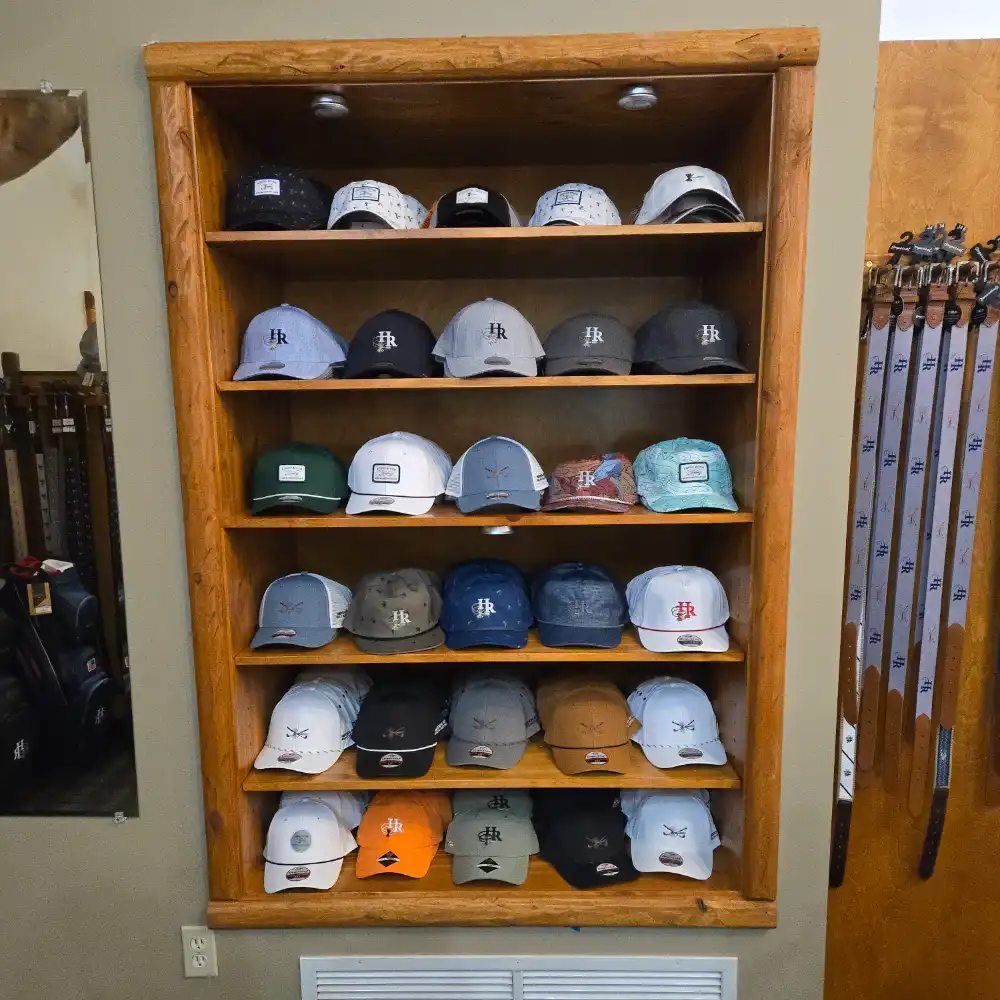
Hats
Shoes
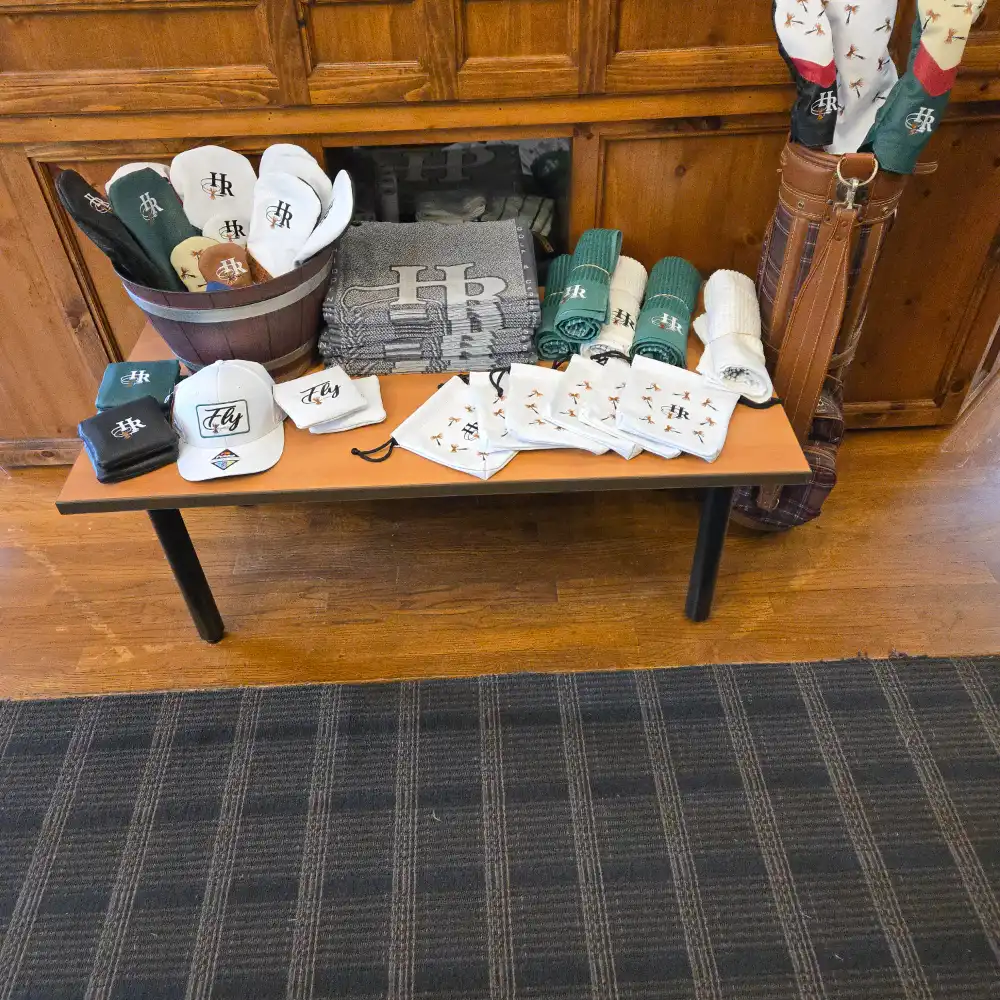
Accessories
Clubs & Bags
Big Fall Savings Have Arrived at the Golf Shop at Hidden River Golf & Casting Club!


Unlock Huge Discounts on Golf Gear—Up to 40% Off!
Fall is here, and so are the incredible savings at The Golf Shop at Hidden River Golf & Casting Club! Starting September 9th, we’re offering a special, limited-time deal on all your favorite golf apparel and accessories. Whether you’re looking to upgrade your wardrobe or gear up with the latest equipment, now is the perfect time to shop and save big!
Exclusive Discounts on Golf Apparel & Headwear
Don’t miss out on these amazing savings:
20% off your first item
30% off when you purchase two items
40% off when you buy three or more items
From stylish apparel to essential headwear, our shop has everything you need to look and feel your best on the course. Take advantage of these discounts and elevate your game today!
Limited Time Only—Don’t Miss Out!
These incredible deals are only available until the end of the season. The special pricing begins on September 9th and won’t last long. Make sure to visit us soon and take full advantage of these savings before they’re gone!


Gift Cards Available!
Looking for the perfect gift? Our Gift Cards make great presents for holidays, birthdays, anniversaries, or even as a thoughtful gesture for business partners or clients. Gift Cards can be used for golf, merchandise, or even food & beverage at Hidden River. Give the gift of choice with our versatile Gift Cards!